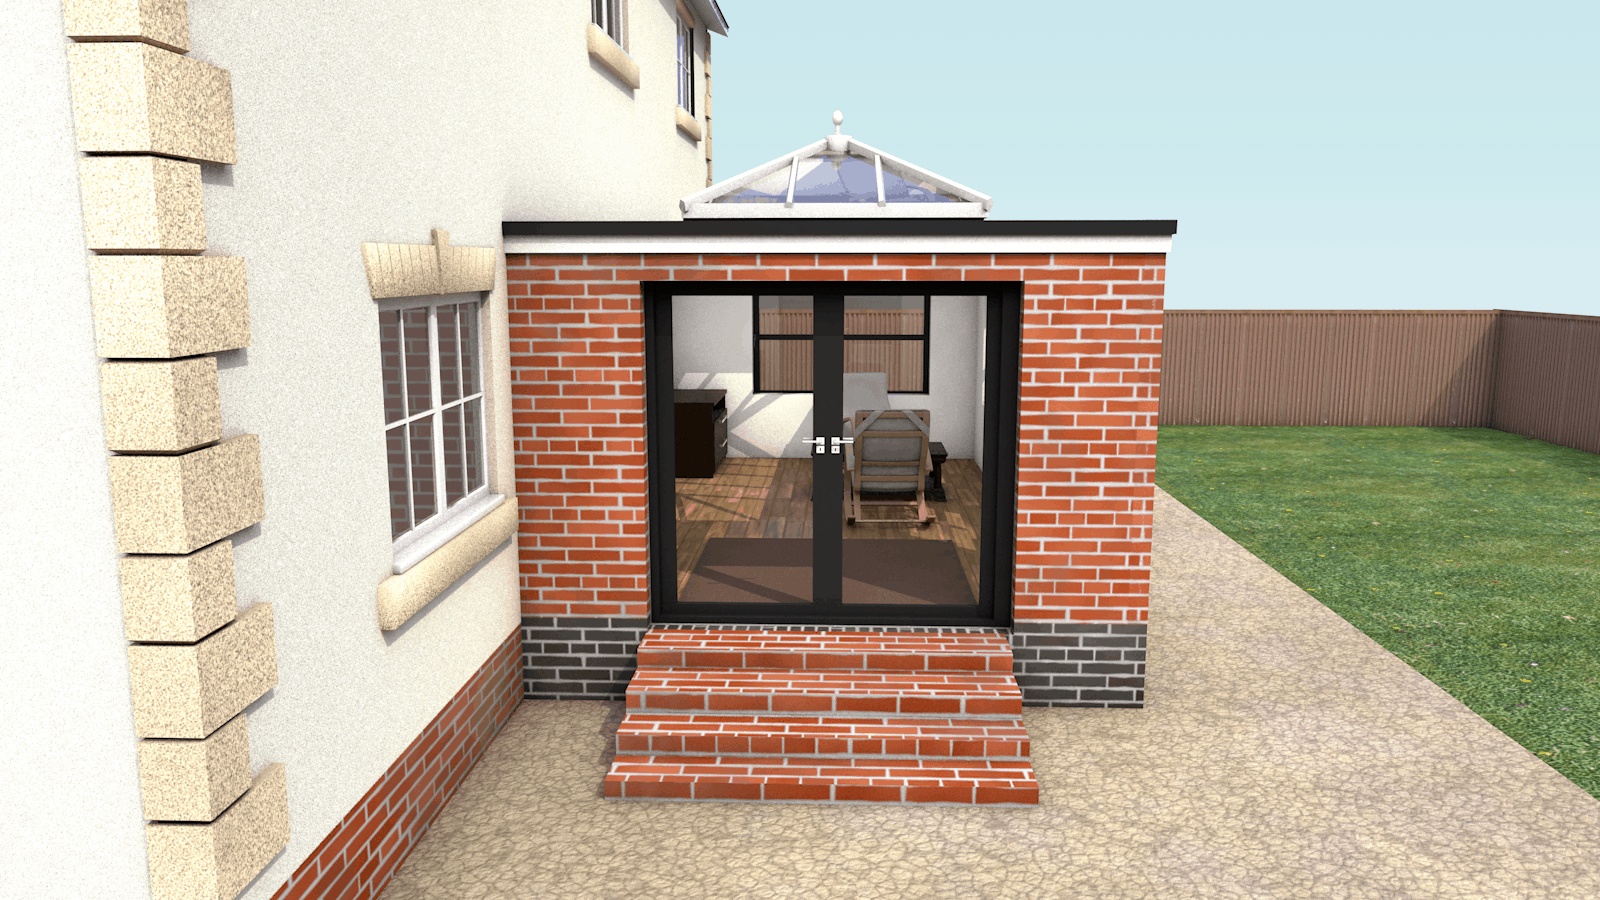
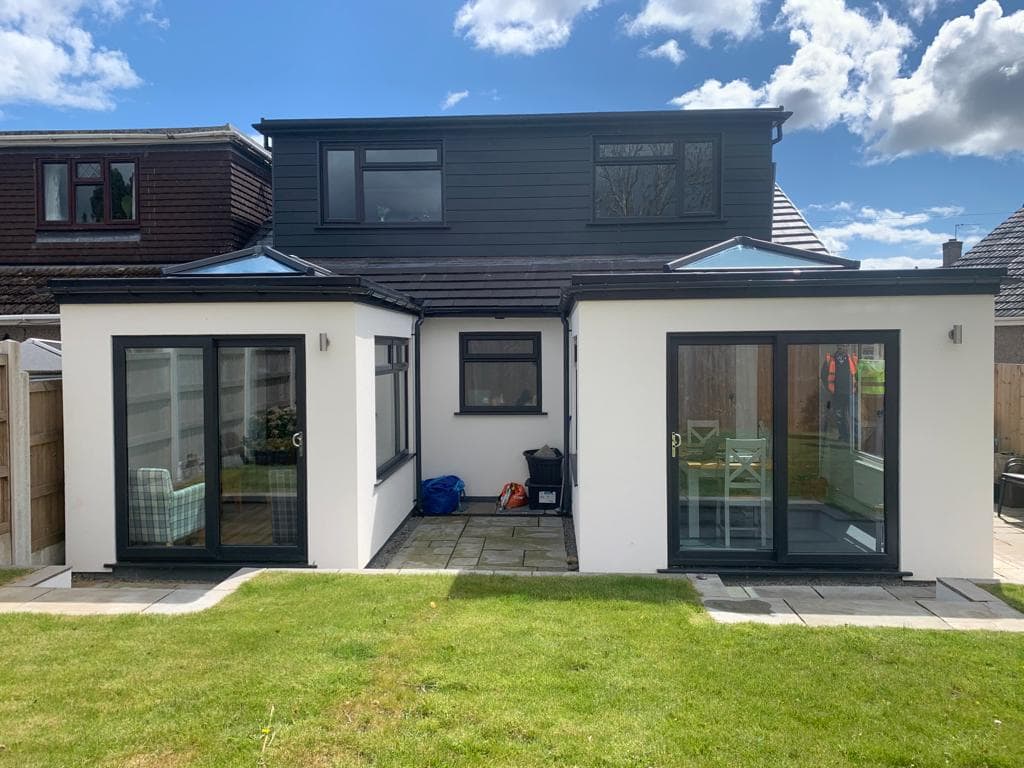
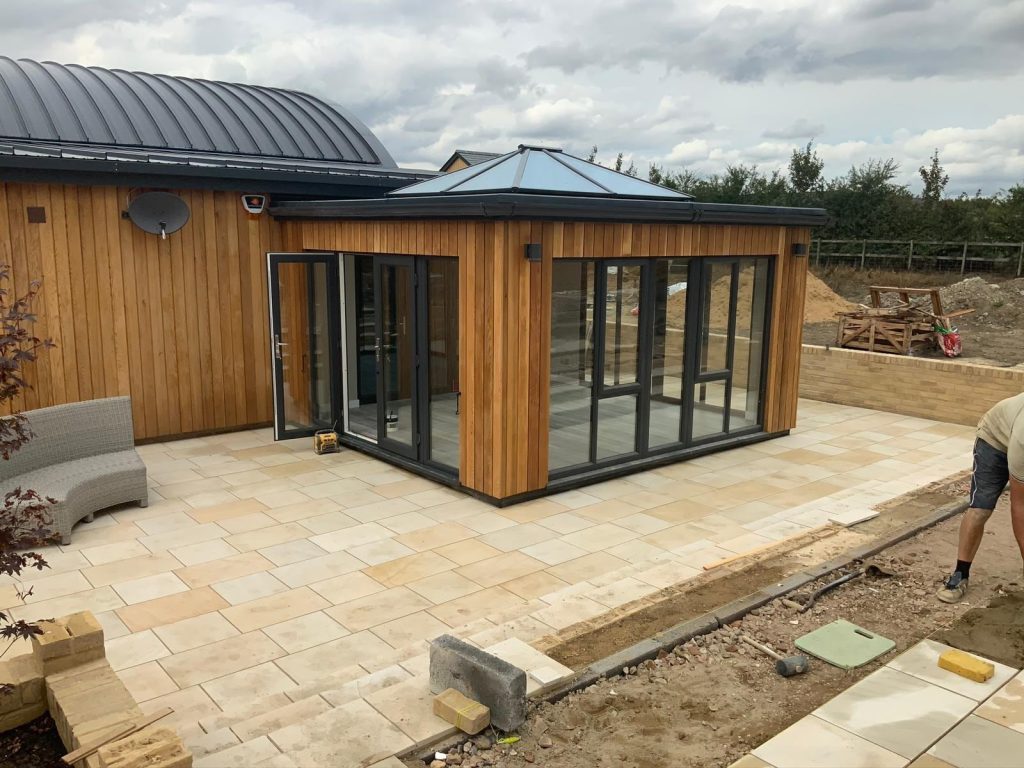
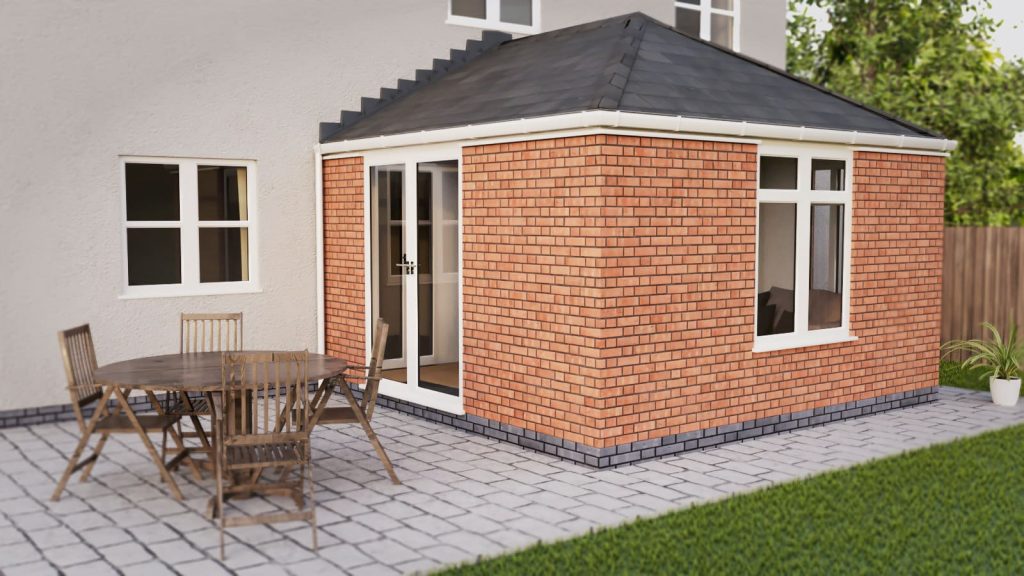
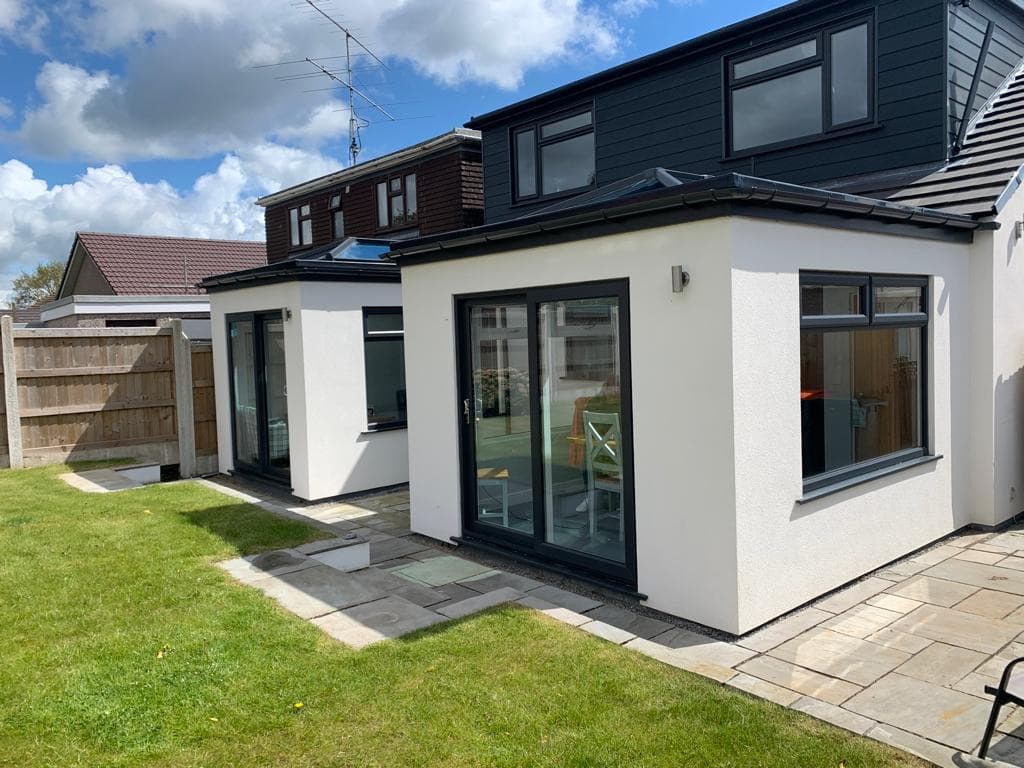
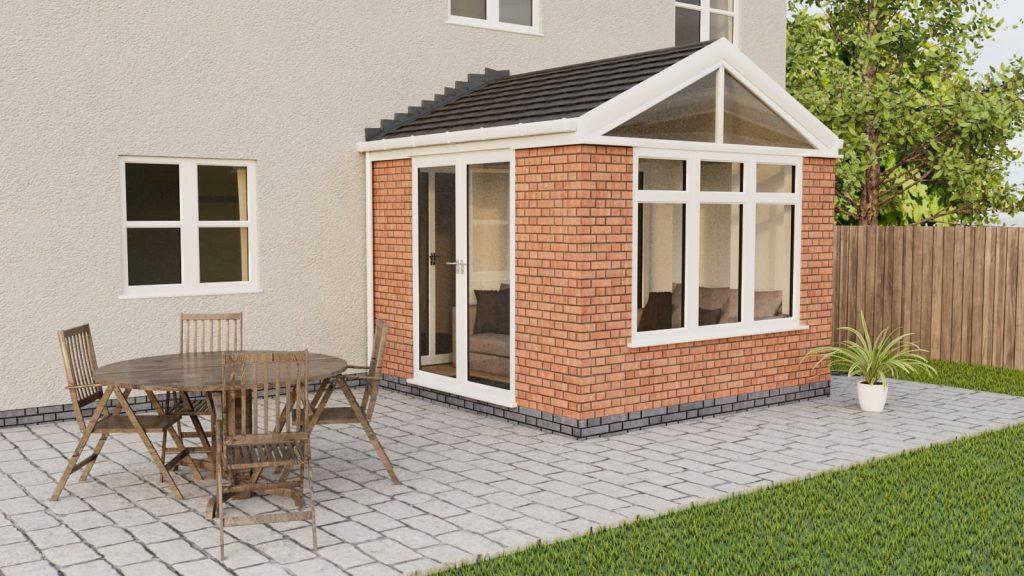
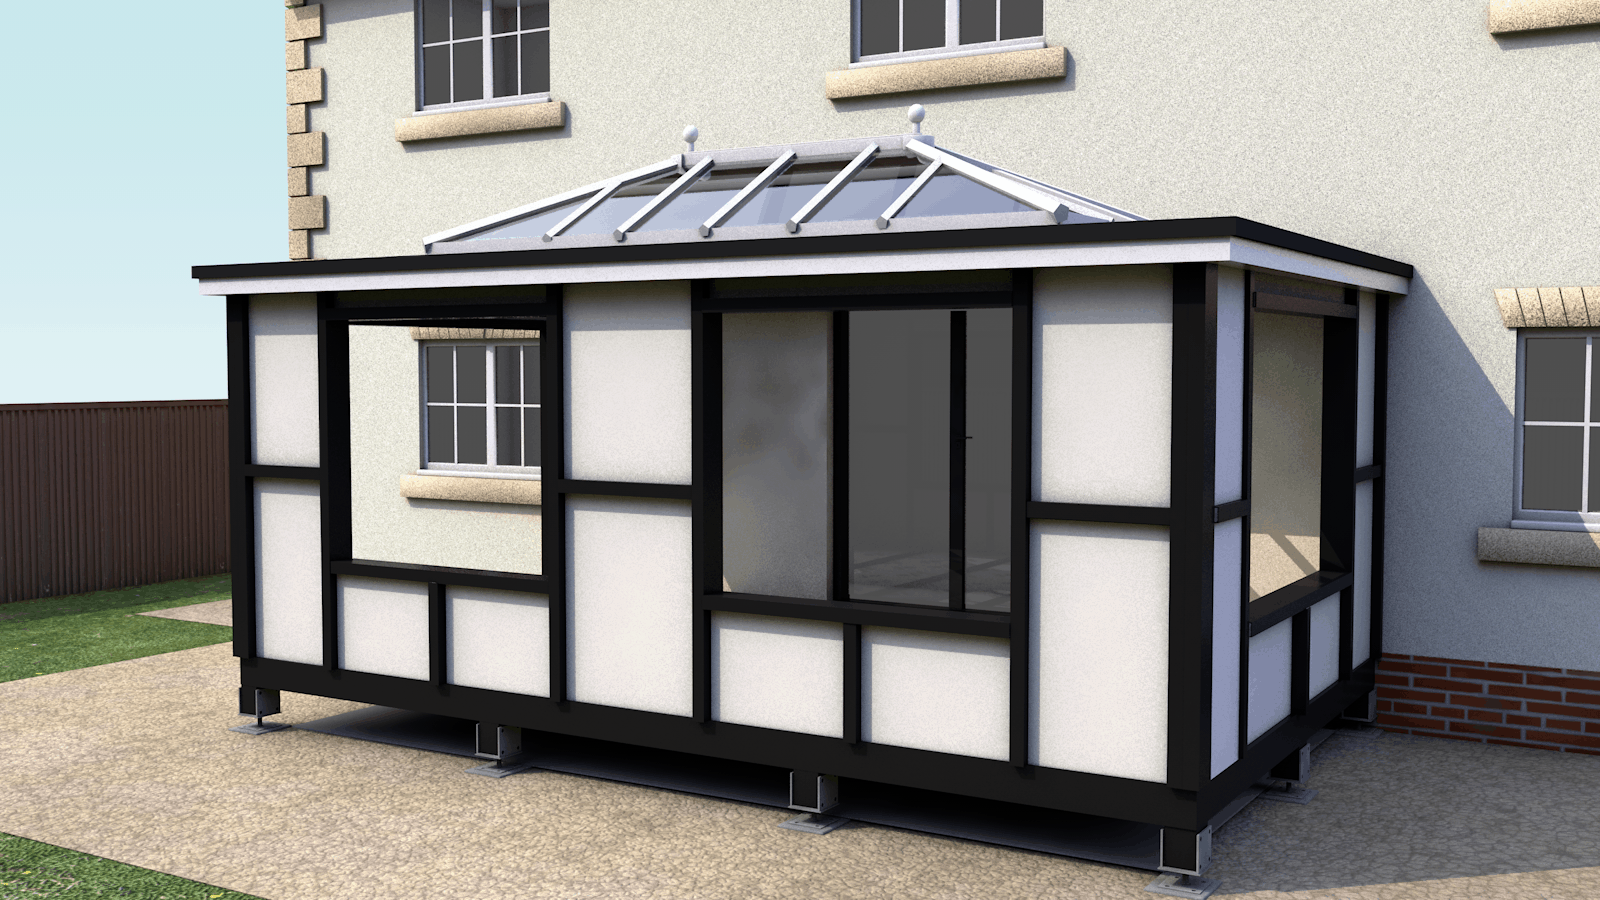
Typically installed on concrete pads the Leka Xi saves time, mess and stress when considering a new build conservatory or single storey extension.
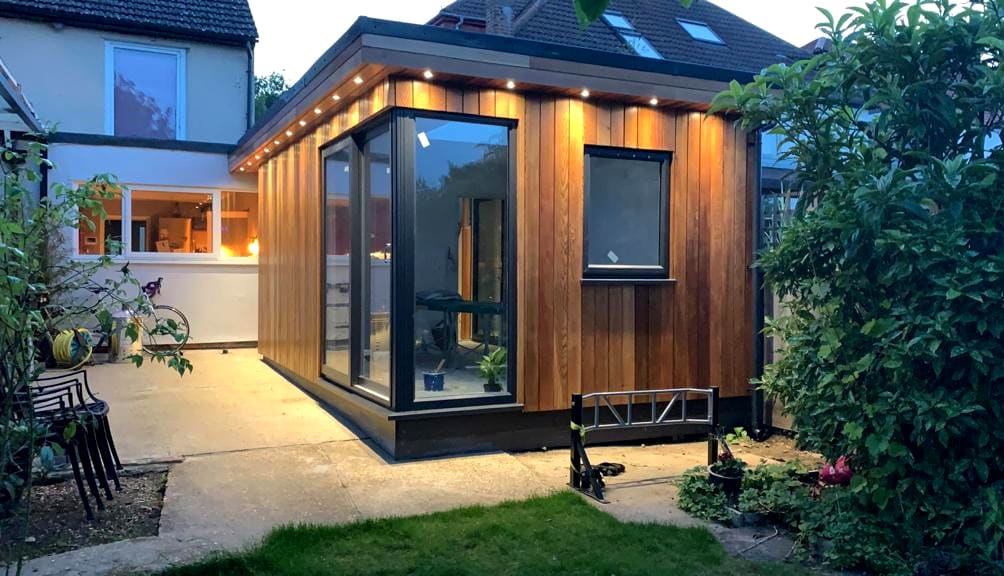
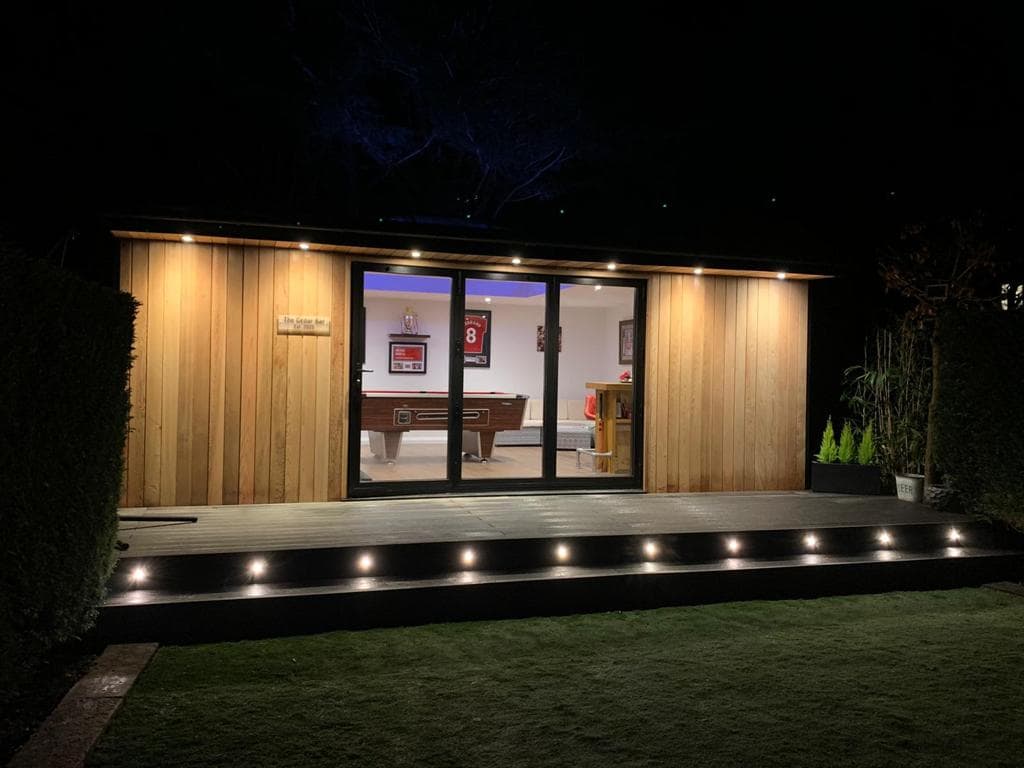
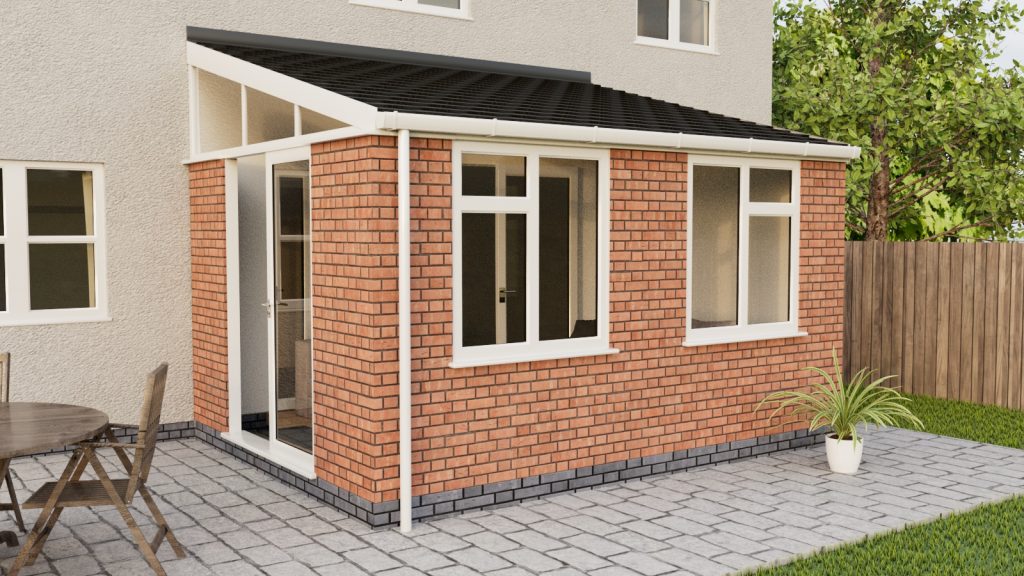
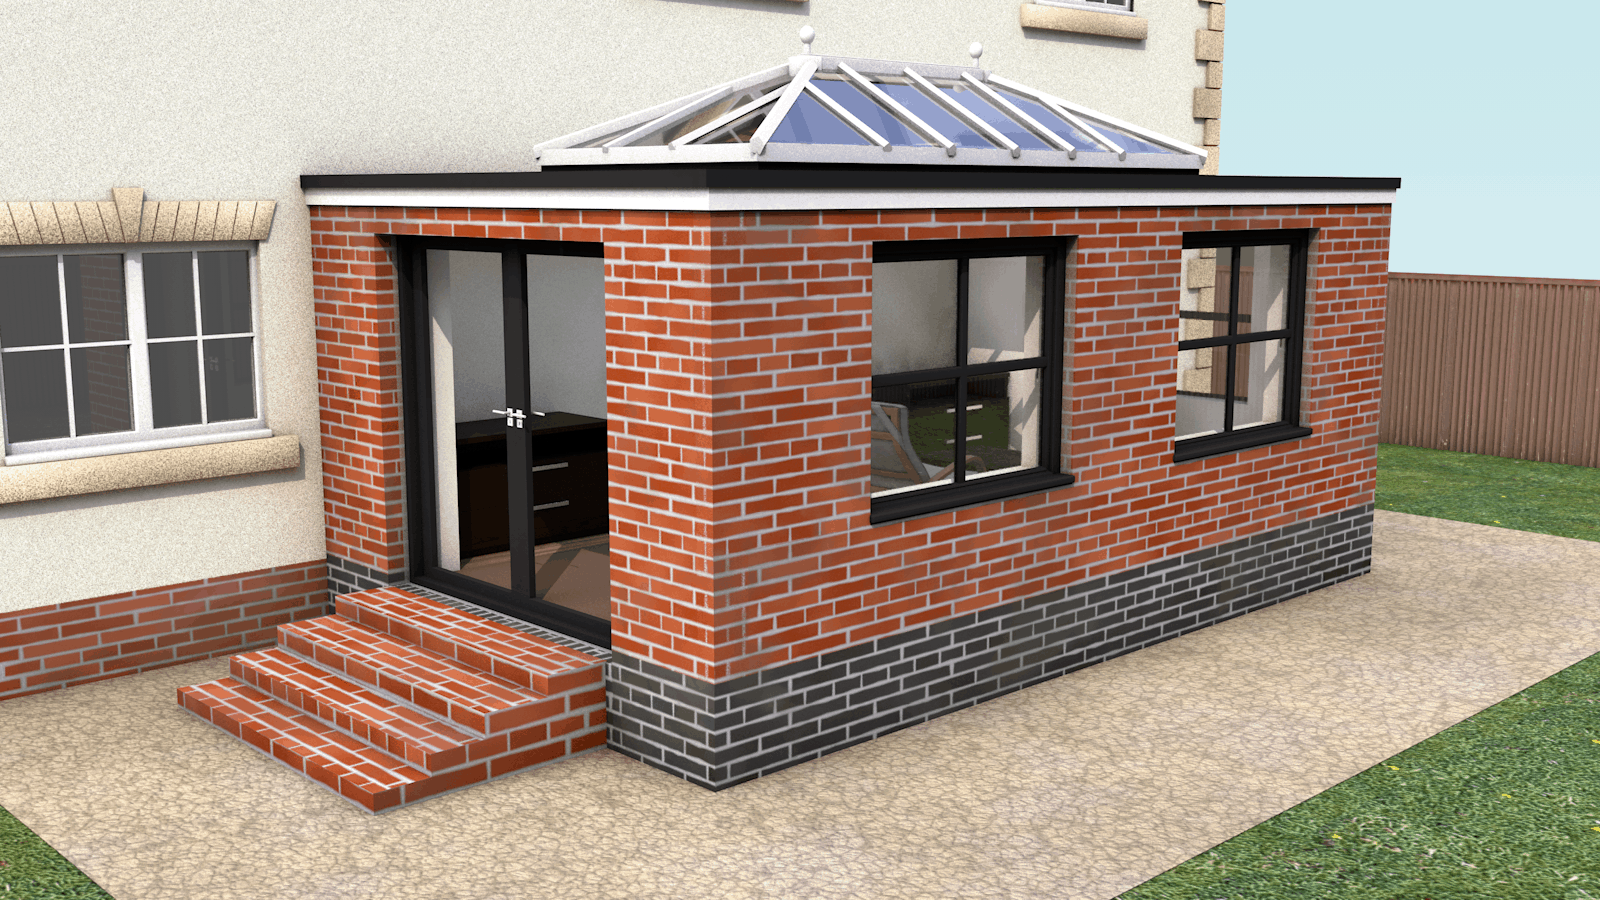
The GRP cladding skins come in a range of colours and offer a sustainable replication of either real brick work, stone or timber. We can even supply external boarding, immediately ready for a plasterer to render directly to.
Typically a conservatory, including the Leka Xi base/wall system, as well as a Leka roof, are installed in days......not weeks. No thermal bridging or moisture absorption due to our GRP lightweight, structurally sound frame work. Thermally efficient to building regulation standards.
Highly engineered, pre-fabricated modular sections, creating comfort that every part of the Xi has been factory tested before delivery. The Xi revolutionises the building market and provides homeowners with multiple benefits.
Leka Xi Benefits
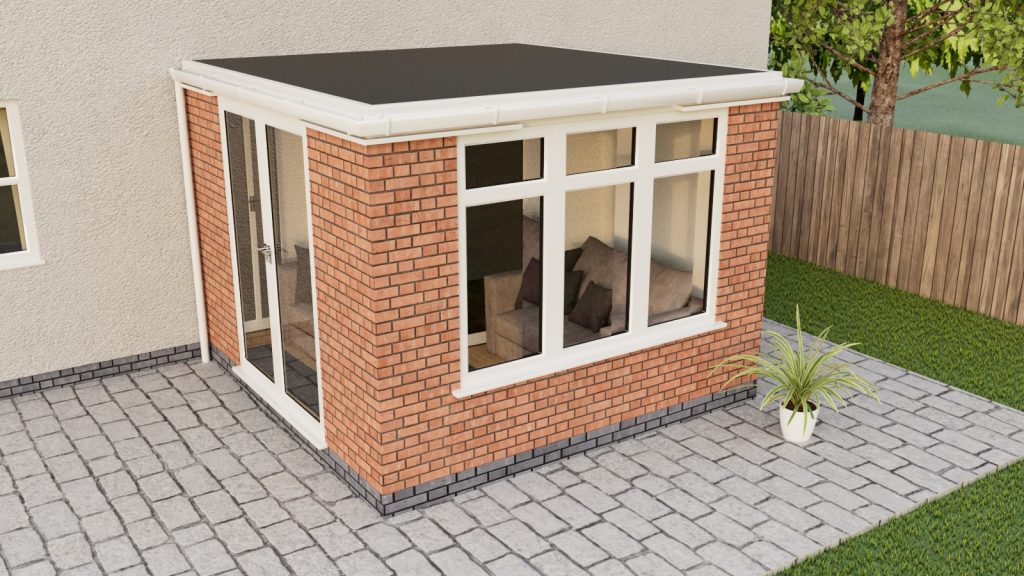
- Dwarf Walls, Full Walls or a Combination
- Installed in days, not weeks
- Save on heavy excavation work, so less mess
- Incredible thermal efficiency
- Building control compliant
- Ideal for homeowners with limited to no rear property access
- Cost effective
- Precision engineered, pre-fabricated modular sections
- No maintenance & authentic range of brick colour GRP clad Skins
- Lifelike GRP timber clad skins also available
- Ability to render onsite, creating total flexibility
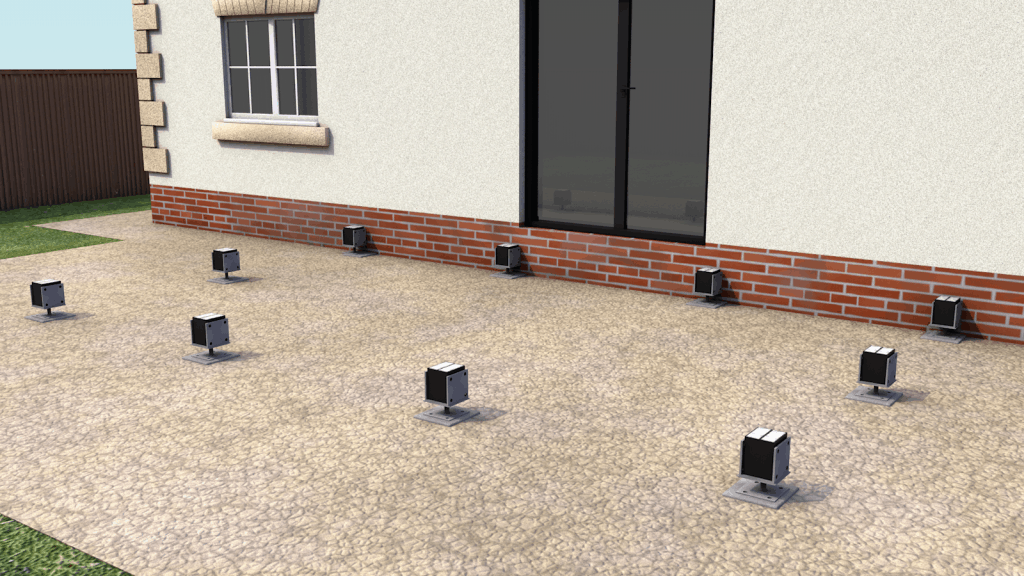
Step 1 - Adjustable Feet
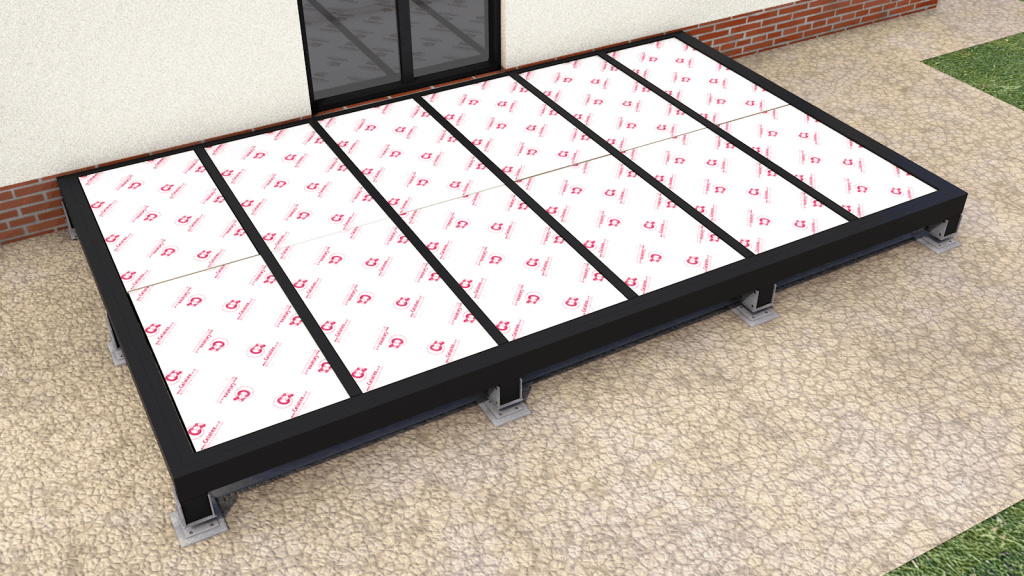
Subject to ground conditions on where the Leka Xi is to be located, typically the supporting feet can be installed upon basic concrete pads. This saves on extensive groundwork having to be carried out in most cases.
With adjustable capability the Xi feet can cater for varied floor levels, ensuring an accurate/level finish when completed
Step 2 - Base System Installation
Once a sufficient membrane is laid to the covered ground area, the Leka Xi ‘pre-manufactured’ GRP base system is installed. This includes a floor perimeter beam as well as structurally advanced supporting joists that are complemented thermally with the use of PIR insulation sheets installed in-between them.
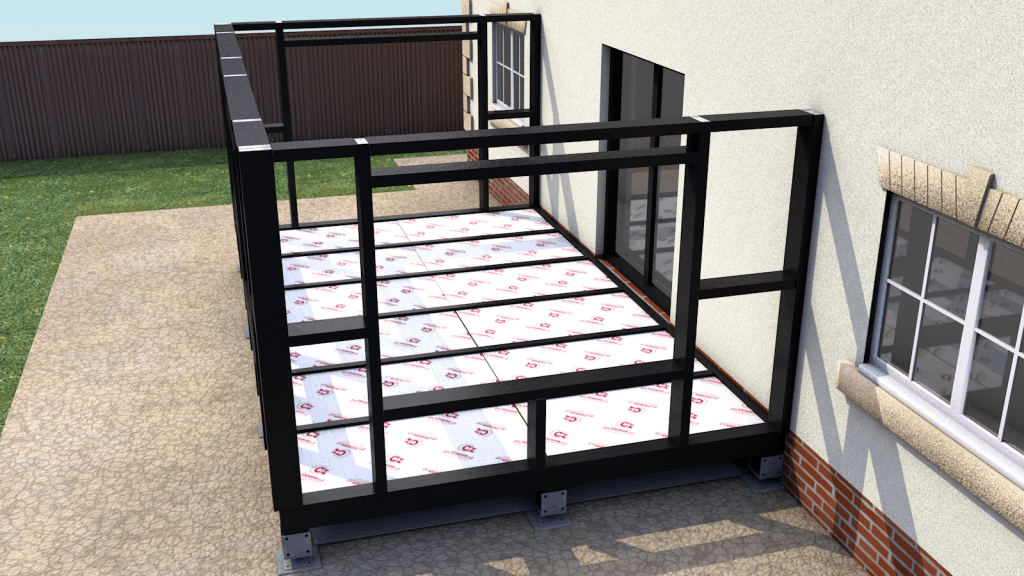
Step 3 - Modular Wall System
The benefits of the Xi wall system is its ability to be truly modular. Each and every wall can be requested at bespoke heights and widths to suit your desired living requirement. All pre-manufactured into simple lightweight sections for ease of installation
Step 4 - Roof Installation
Once the modular Xi framework has been installed it is usual for an appropriate roof system to be installed.

Step 5 - Insulation
High grade EPS insulation is pre-cut to size and installed neatly between the thermally efficient GRP framework.
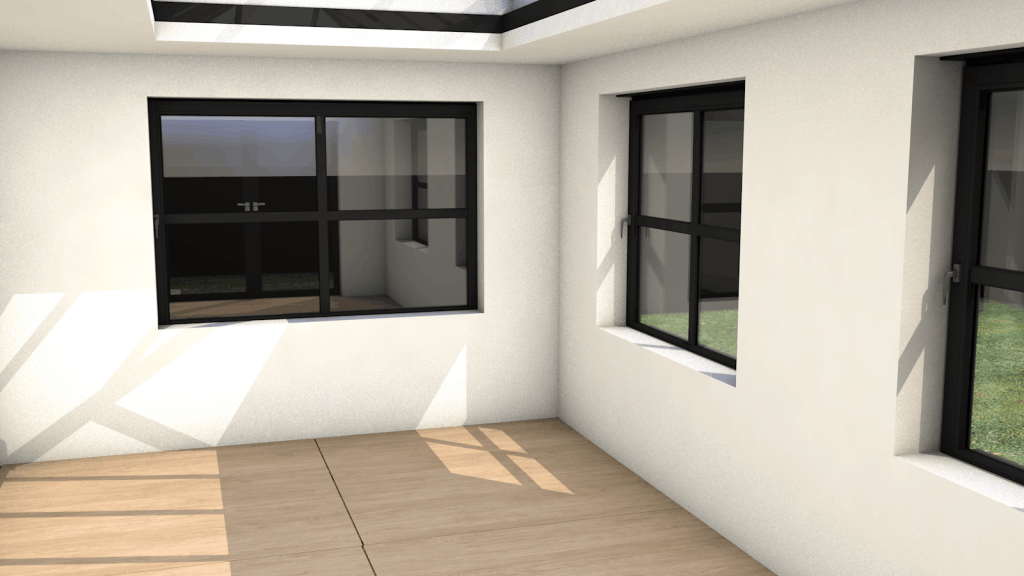
Step 6 - Plasterboards & Flooring
Following any window/door installation, the internal energy efficient plasterboards are installed, along with high-grade weightrock flooring. This provides a finish ready for both plastering and preferred floor covering to be applied.
Step 7 - External Finish
Finally the desired external finish is applied. The Leka Xi is very diversified, offering a choice of:
GRP brick/timber or even stone skin finishes all quick to install and maintenance free or the unique external Leka board that allows a plasterer to apply a wet render coat directly too. Customers can also apply their own finish if requested.
Fast Installation
In most circumstances the Leka Xi (including any roof system) can be installed and completed in less than a week. No more heavy ground works, mess and weeks of build time.